Do I need a second photographer?

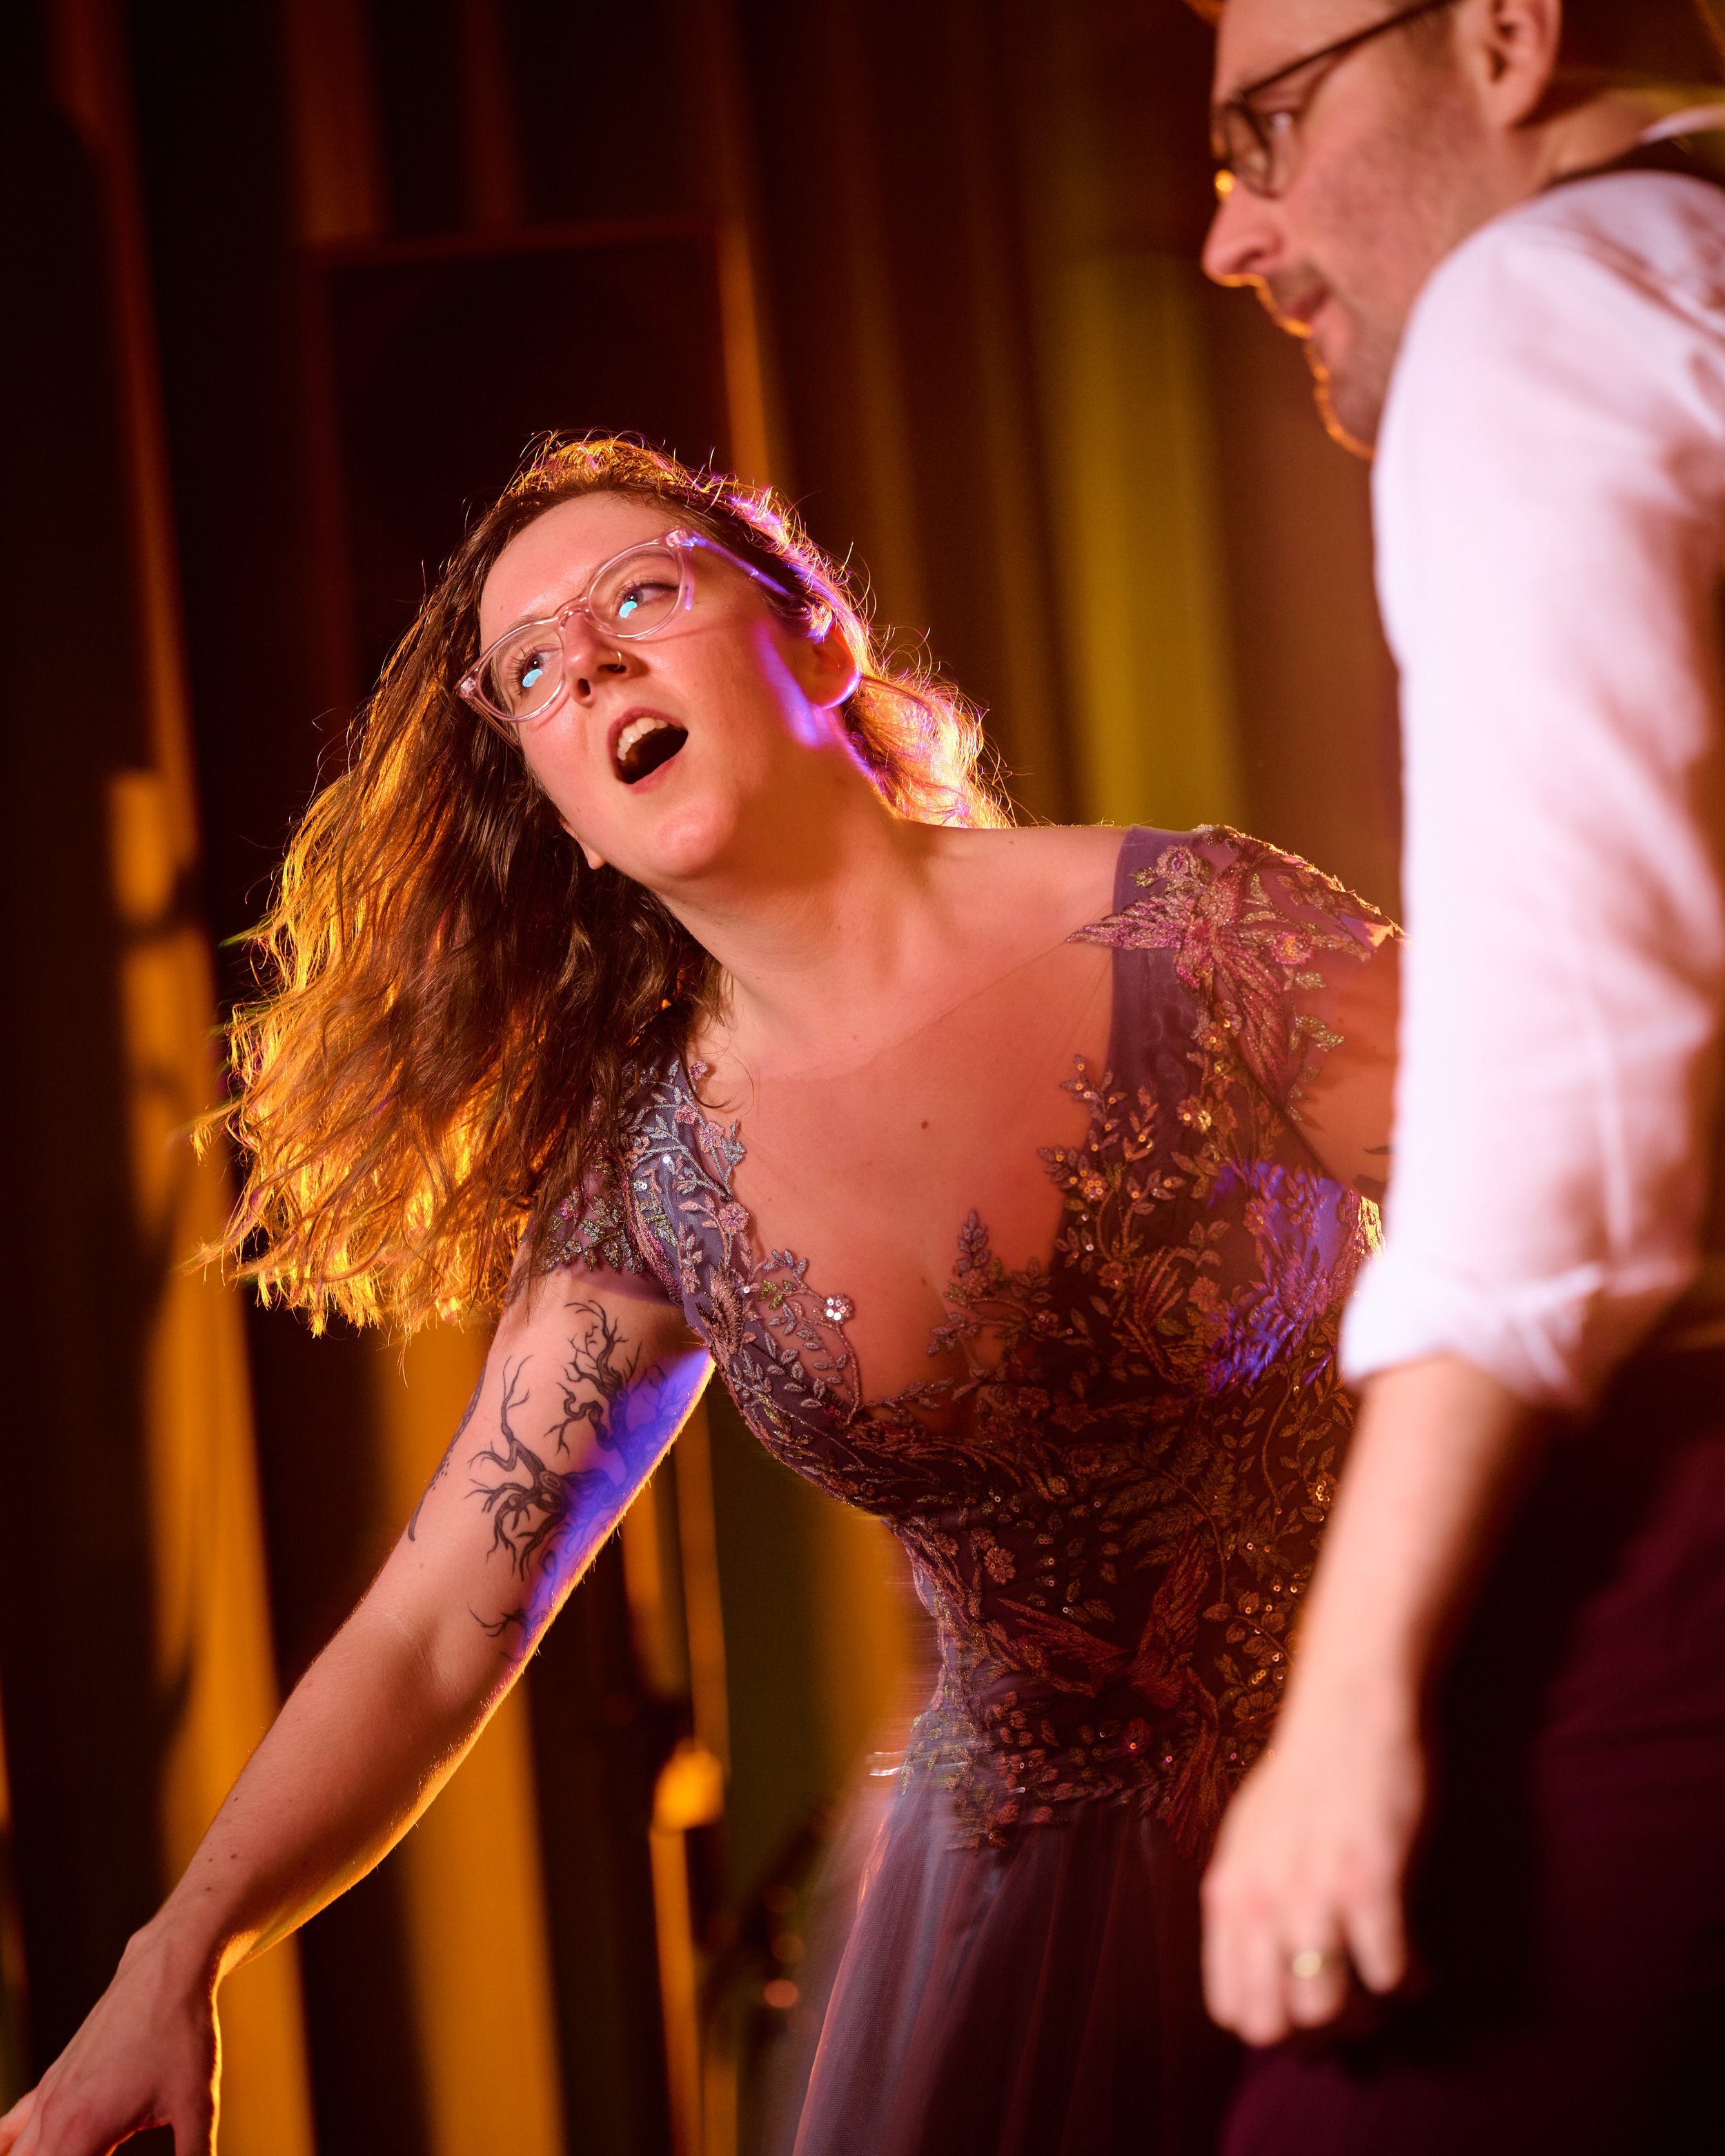
I get this all the time, and typically a second shooter (as we call them) are recommended for “capturing every moment” etc. However, I don’t think they are necessary for most cases, and can even be a liability!

Me, my assistant Rosie, Maid of honour, Bride, and Groom. Photographed by a Second photographer Lou White at Hodsock Priory

If the various guests to the photographed are commonly going to be in multiple locations, doing unique things, then yes, it’s a good idea, but I on my own am quite the ninja if I do say so myself. As mentioned in a previous post, I burst shoot a lot at weddings and plan to overshoot everything, even knowing it will take me a lot more time in post, I on my own will capture a lot more unique moments throughout a day than two or three other photographers may do. More people doesn’t equal more betterer (this misspelling is an internet joke, in case you hadn’t seen it before). I pride myself on being out of the way, using longer focal lengths from greater distances, and focussing on candid photography. I want to add minimal intrusion to your day. Even if you want a great stills and video package such as S3V2, it will just be me and my assistant, yet you’ll be receiving amazing stills and video from the day. Comparable deliverables may normally require a team of people (1st photographer, 2nd photographer, 1st assistant, 2nd assistant, videographer, audio capture, video assistant). I think there is actually even more inherent value in having 2 people, instead of 7.

Now, I do include a second photographer in my S4 package, and you can add them to any package, but this is because my second of choice shoots film. They will capture completely different images to myself, and with the ‘Duo’ album included in S4 that means the different paper textures and layouts throughout the book can really be shown off to their best.

A second photographer riding in the wedding car

I very much dislike editing a wedding shoot that is a mixture of two photographers work, each using two different digital cameras. Those 4 camera bodies don’t look different enough to be clear, but they also don’t look alike enough to be seamless, whereas if my second is using film, those are a clear difference. If you are into the idea of analogue photography at your wedding this is a great way to go. It is very risky to only have a film photographer, as there are lots of reasons why they could not capture all those moments like I will, but having them supplementing, adding further dimension, now that’s truly special.

My Tempetual Photo shoot over Sheffield

You might have already seen my profile photograph by now and at least one of these thoughts might have occurred: “Where is this?”, “Is that really Sheffield?”, “How is it purple? Photoshop?”. “What the hell is he wearing?”.

Well, here are answers to three of those, and a look at the rest of the photos we took of moi.

This is one of my favourite photo shoot locations, easily accessible from Sheffield with a spectacular view over the city. It is just off Ringinglow road, past Norfolk Arms, and the Alpacas. Once you’ve parked this spot is only a five-minute walk, so I can haul a load of lighting crap with me (but we’ll get to that in a couple of answer’s time).

Yes, that’s Sheffield behind me, in case you aren’t from around here this is very dramatic setting for a major UK city. This hill is approx. 350 metres (1150 feet) higher than the city centre, despite only being around 10km or 6 miles from the city centre (this is also basically the first half of the half marathon route and explains why it’s so disgusting to run! Ask me how I know).

Okay the purple, firstly I just love purple and wanted Tempetual’s branding to be purple and gold, but how do I make the background of a photo change colour? It is not through fancy editing, this isn’t faked, it’s a mostly in-camera technique. This is to do with colour theory and specifically colour opposites. If I light myself with white light, and white balance the photo for that, the background will look normal (at night with all the modern LED streetlamps, that would be pale blue). If I was to light myself in a slightly orange light then white balance the photo for that, I would continue appearing correctly lit, while the background would swing to a really blue look. Taking this concept further, what is the colour opposite of purple? If we look at this wheel, we can see it should be a yellowy orange. So, I stacked together multiple gels on my key light’s flash head. I think it was a mix of Rogue’s Oklahoma Yellow, and Rust, maybe also a 1/4 CTO. This left the raw file looking like this:

Then applying the colour correction to bring me back to neutral, plus some tweaks gives the final look!

There was also a backlight with two Rust gels on it to make it slightly warmer than the neutral key light even after correction, I wanted this warmer light to contrast the purple and give me separation from the background.

If you’re interested in the camera setup, I was already holding my primary camera and my most used lens (Nikon Z9 & Nikkor Z 70-200 f/2.8), so this was shot with a Nikon Z6 and my favourite lens of all time, a 40 year old Nikkor 400mm f/3.5 AI-S manual focus lens (I love it so much I’m working on a tattoo sleeve of its optical elements arranged as arm bands). This was shot at a slow shutter speed of around 2 seconds, and a small aperture of f/16 to increase the depth of field.

As you’ve made it to the end of this post, you’ve earned a look at all the stupid shots we took, enjoy!

Low light action photography is very technically difficult, here’s how I do it

Here’s a paradox for you: if fast moving action requires fast shutter speeds, and low light conditions require slow shutter speeds, how on Earth do we shoot people dancing at night?

Well, there are two solutions, both with problems:

#1 Raise your camera’s ISO, this makes the image brighter but at the extreme expense of picture quality. It makes it noisy (or grainy) which isn’t always the worst thing but in excess is quite ugly. More importantly it ruins all colours, skin tones, and the effective resolution of the photo, making it very difficult to print.

#2 You add extra light with flashes, the problem with that is overpowering the ambient light in the room removes all ambience from the image and makes it no longer representative of the event.

Over many years of tackling this kind of problem my favourite solution is to utilise two off-camera lights. Why two? Well the worst thing you can do is shoot with a flash on-camera, aimed directly at your subjects, turning them into Casper the friendly ghost!

So, I want a backlight that can separate the subjects from the background, and a key light that illuminates their face in a soft and subtle enough way to not ruin the mood. Said backlight shouldn’t look out of place, so I’ll always start by looking at what lighting there already is (I’m not going to blast purple at people if the room is all white disco balls), to make sure I am mimicking a best-case scenario of light hitting the right spot. All I am doing is guaranteeing that look every time. We’ve all seen how our friends look on the dance floor in that split second the disco light hits just right, well I’m replicating that look every time.

Regarding the frontal key light, it needs to be off-camera, and soft. There are two ways of doing this, it has to either get bounced off a large reflective surface (white wall/ceiling), or I have to crack out a big-ass soft box. Here are examples of two different setups, a fixed one in a challenging space, and a mobile one in a simpler space.

Setup #1 already had bright, coloured disco lights coming from the right side of the dance floor, so I supplemented this with a deep orange flash on that side, but high up enough to skim over the heads of the entire crowd. The ambient light was very low over there, so my key light was a 105cm soft box with a grid, this creates a soft, but directional light across the faces of the entire dance floor. The restriction with this setup is I have to shoot in one direction, which worked out fine, and sometimes being a bit off axis can still work out well.

Setup #2 was a less directional space, with a low, white ceiling. The lighting in the room, was mostly white roaming spotlights/disco balls, so I had my assistant hold a white flash on a pole and continuously move to be in the back of every photo as I rotated around to provide the backlight. The key light was from bouncing a second flash I was holding off the ceiling, this flash isn’t normally mounted to the camera, I hold it in my left hand so I can point it exactly where I want, while shooting the camera with my right hand (yes I do this with a massive 70-200 f/2.8 lens, this is why you need to hire a photographer who climbs!). Changing where I aim the handheld flash means I am effectively placing a virtual soft box at different places above my subjects to get the right amount of facial lighting.

This whole thing is a balancing act, and I believe it’s a very high skill level balancing act. Hopefully you can appreciate the final look of these images even though the conditions were extremely challenging!

How I shot this Hybrid posed drive by photograph

In a previous post I talked about hybrid posed photos, where I setup a shot but allow for natural interaction. Aiming to create a scene that could exist naturally.

In this photo, taken en route between ceremony and reception, I wanted to create the look of a sunset hitting the back of the car. Unfortunately, it was overcast that day, so I placed a wireless flash with a CTO gel (orange coloured filter) in the back of the car. As they drove by, I fired off a series of shots utilising the burst technique (also talked about previously).

Each shot was at a slow enough shutter speed to blur the car and the spinning wheels to show the motion. The flash going off in the car is helping to freeze the motion of the cabin and adding that orange backlit glow I wanted.

In the grading of the photo, I emphasised the colour temperature difference of the sky and the backlight by making the sky a bluer tone. This matches the blue paint of the car giving the whole image a blue, orange, blue layering.

It’s a bit like the flag of Nauru (maybe?). 🇳🇷

What if it rains on your Wedding day? (will it ruin the photographs?)

I’m based in the UK, it rains, a lot. Unpopular as it may be, I love the rain. It may just be that I enjoy a challenge, but I find it gives a unique vibe to the day, if you embrace the chaos, you can get stunning results. Now only one of the outdoor weddings that I’ve shot have rained during the ceremony, but it provided a great opportunity for storytelling, composition, and lighting.

In this photograph I have positioned a couple of flashes off-camera in the woods, adding dimension to the subjects, but thanks to the white umbrella, that light is being scattered and shone down onto the couple’s faces like having a giant soft box in frame. The bright white semicircular shape also helps the overall composition of the photograph.


The tip to take from this is to include an umbrella into your outfit plan. If you are going to be wearing a white wedding dress, find a white umbrella. (In a pinch I can have you hold a small photographic umbrella, although they don’t have handles at the end!)

Although I have yet to encounter customers who want to get wet, I would love to do a soaking shoot for an engagement or on the day, and really embrace the water.

In case you wondered, my camera equipment is all weatherproof, and I’m pretty hardy so I’ll go along with anything you might have in mind regarding weather.

Hybrid posed Wedding / Celebration photography

You’ve previously heard me rant about posed photographs being bad and candid being great, but there is a hybrid of the two that I very much enjoy.

What I call hybrid posed photography is when I find a likely naturally occurring scene and place my subject there. Often then adding lighting that accentuates what’s there and makes logical sense in the scene.

Then, rather than posing my subjects precisely I will just allow them to interact, unaware of the camera. I like to do this with a long focal length from some distance as I don’t want to give them direction once they are in the right place. I want to capture genuine moments of interaction that are authentic to them.

How I shoot artistic candid Wedding / Celebration photography, and why it can even look posed

In a previous post I talked about the development of the camera over the past two centuries. Well it’s all come to a head with the latest crop of high-end digital cameras, specifically those aimed at sports & wildlife photographers. I choose to use this kind of camera (a Nikon Z9 is currently my primary camera of choice) for my wedding and celebration work because it allows me to capture those moments in a way that is impossible without.

The unique attributes are twofold, advanced autofocus, and very high burst rate. I have built my entire workflow around shooting far too many photographs, very much on purpose.

For example, in this photograph I saw an opportunity to capture the father and mother of the bride sharing a moment.

I framed them expecting the bridesmaids to walk past in the background, and in order to account for randomness, I hold that shutter down. Instead of taking a single photograph I might have taken 100, for the chance that one of them stands out. SO MUCH of the time, one of them does. As you can see here, we had this beautiful moment of the bridesmaid in the background looking between the couple while perfectly framed in the middle. This kind of moment is impossible to predict, and if you attempt it with a non-sports camera, you hit the ‘buffer’ which needs to offload before allowing you to continue shooting. On my setup I can shoot thousands if need be, without significant gaps.

Now there are a couple of big cons to this technique, storage, and processing. I need to use very large cards in my cameras (everything is saved to two cards at once for safety), and large backed up storage arrays in my studio.

The processing issue means that after a shooting day I might be coming home with ~10,000 images, when I only intend to deliver 200-300. So, for so many images I have to sift through tens or hundreds of almost identical images, looking closely at the differences and looking for those little moments that turn a pretty composition, into a beautiful photograph. The vast majority of those photos taken get deleted, leaving me with only the very best moments to then take into editing, grading, printing, and delivery.

Ever since high frame rate sports cameras came to the market, there have been those claiming you only need one frame to get that perfect moment, and it just requires skill. I think this is absolute rubbish, that does not apply to professional photography. If you are out on the streets or roaming nature you have the luxury of missing the moment. At a wedding you do not. And the average human reaction time of 0.25 seconds just isn’t going to compare to firing off 100 photos in 5 seconds. Which is 4 photos in those 0.25 of reaction. Amazing to really think about.

I hate traditionally posed Wedding / Celebration photographs

For decades wedding photographs have been infected by the centuries old curse of the overly posed shot. The origin of this goes back to the mid-19th Century when early cameras required very long exposure times, so subjects had to stay very still in order to get a clear photo. This necessitated rather wooden posing and facial expressions that could be held for as long as 20 seconds in bright daylight. Some particularly squirmy children were even put in restraints for their family photos (I’m laughing while typing this).

Did you know that because of this, smiling (just in photos I hope) only came into vogue in the 1920s when cameras were capable of faster exposures?

As you might have sussed by now, such posing is no longer necessary and in fact is undesirable for most customers these days, we enjoy more candid, authentic moments, and I’ll get onto how they work in a future blog post!

I want to use this opportunity to show some examples of posed work I have taken at weddings over the years, that I still like, and can make the most of if requested, but prefer more creative approaches.